Last updated November 21, 2026
 Raised-panel steel
 Carriage house
 Modern flush
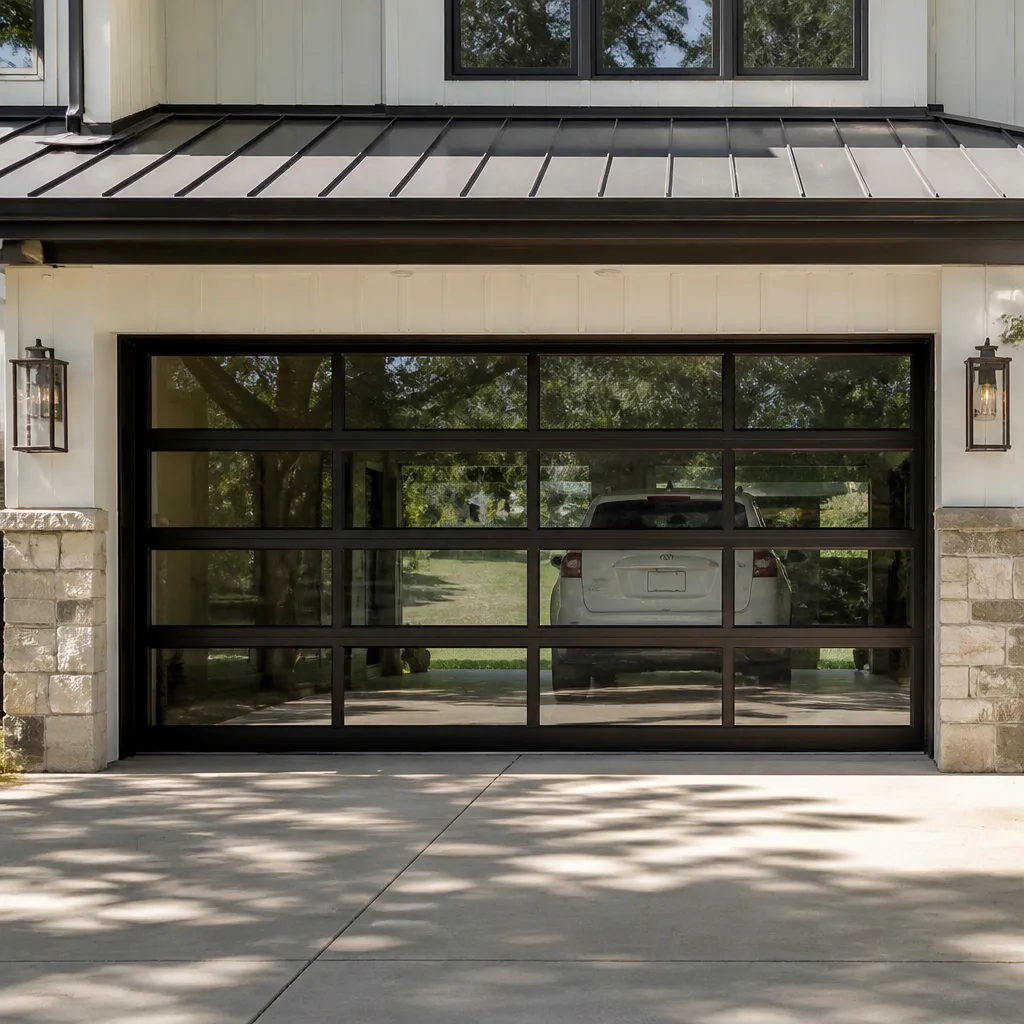 Full-view glass
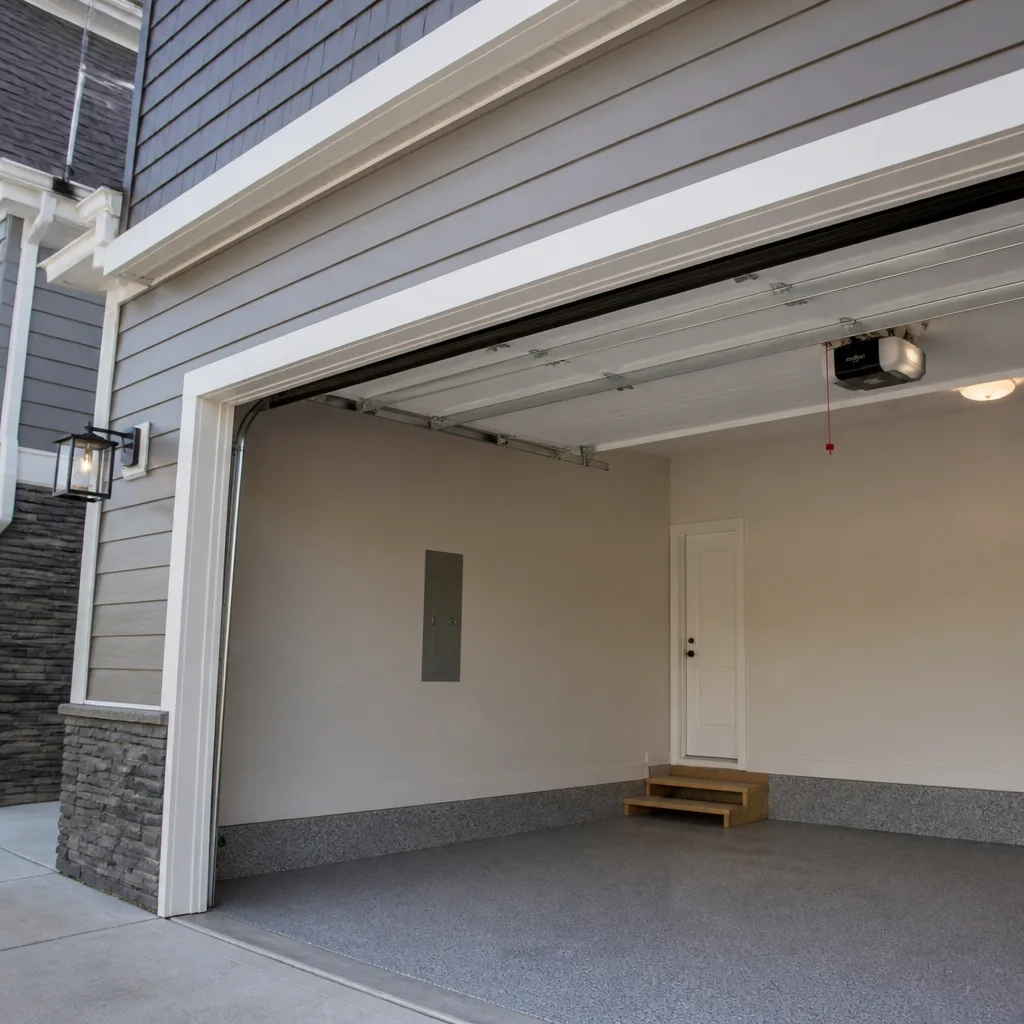 LiftMaster openers
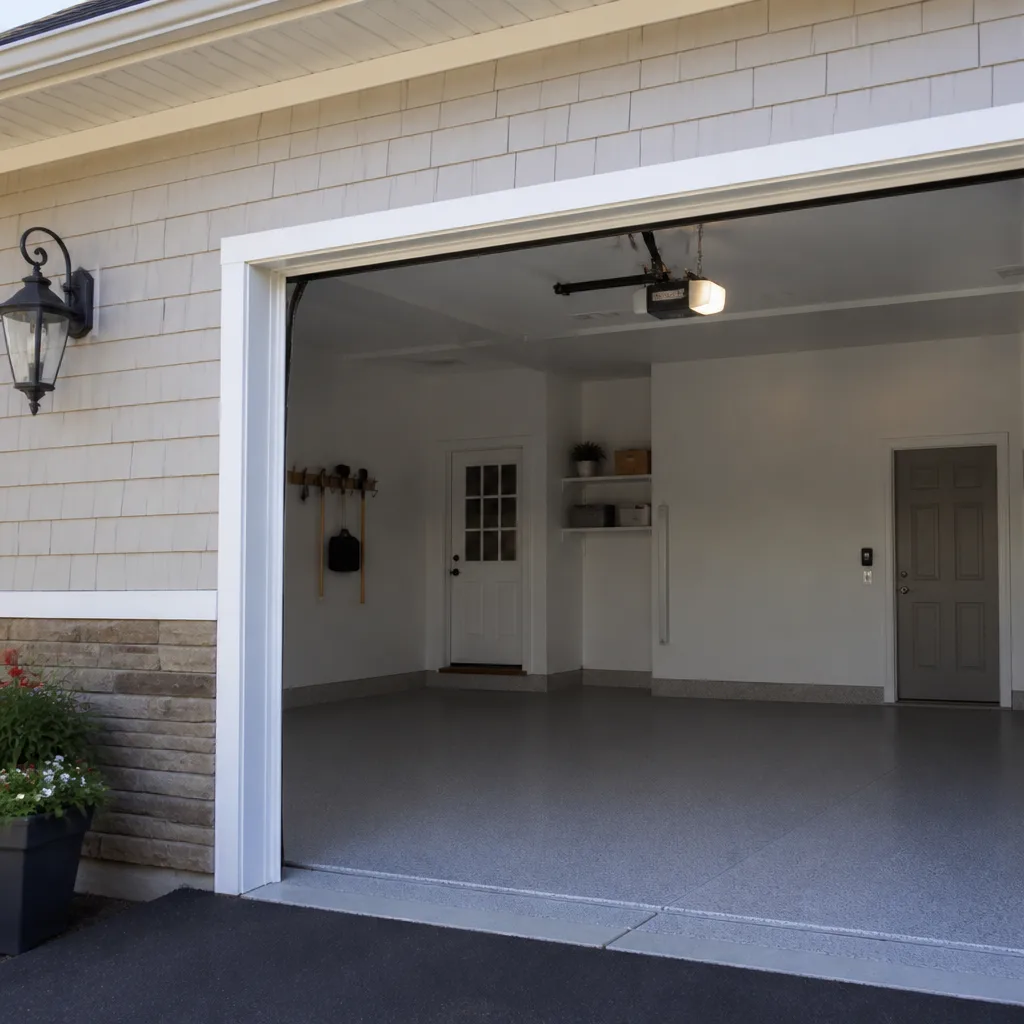 Chamberlain openers
Full 25-point door and opener safety check with every visit - springs, cables, rollers, tracks, and your LiftMaster or Chamberlain opener included
You get a price before we start. It does not change when the pro arrives.
Get your free estimateGarage Door Repair Maintenance Checklist for Corona Homeowners
The reason a small repair turns into a large one usually isn’t neglect. It’s that the homeowner looked at the door, saw nothing obviously broken, and moved on. The parts that fail first on a garage door rarely announce themselves. A worn roller looks like a roller. A loose hinge looks like a hinge. What you need is a checklist that tells you what a failing part actually looks like before it lets go, and that’s what this guide gives you. We’ve built it around the failure patterns our technicians see most often on Corona service calls, ordered by what breaks first and what costs the most when ignored.
Quick Answer
A useful garage door maintenance checklist covers five things: rollers and hinges for wear, springs and cables for visible damage, the door’s balance and alignment, the opener’s safety reverse and travel limits, and a lubrication routine tuned to the season. Check the door once a month by eye and ear, lubricate moving parts twice a year as temperatures swing, and test the auto-reverse every month. Most of what fails on a Corona garage door shows warning signs weeks before it stops working.
Styles & brands we work with
- Raised-panel steel
- Carriage house
- Modern flush
- Full-view glass
- LiftMaster openers
- Chamberlain openers
Table of Contents
- Rollers and Hinges: What Wear Actually Looks Like
- Springs and Cables: The Parts You Inspect Without Touching
- How to Test Door Balance Safely Without Tools
- The Corona Lubrication Schedule (It’s Not Once a Year)
- Testing Auto-Reverse and Travel Limits
- The Three Most Neglected Components on Corona Doors
- What to Log After Every Inspection
- Common Mistakes to Avoid
Rollers and Hinges: What Wear Actually Looks Like
A worn roller doesn’t look broken. That’s the whole problem. The nylon rollers most Corona doors run on wear from the inside out, and by the time the surface shows a flat spot or a crack, the roller has already been dragging for months and putting extra load on the opener and the door’s alignment. This is why roller replacement is one of the cheapest jobs on a garage door and one of the most commonly deferred.
Here’s the pass/fail criteria we use, so you can check your own door the same way:
- Rollers – pass: round, quiet, spinning freely by hand, no flat spots, no visible cracks, no black rubber dust collecting on the track.
- Rollers – fail: any flat spot, a crack running through the roller, a wobble as it turns, or a grinding sound at one point in the door’s travel. Nylon rollers usually fail quietly; steel rollers fail loudly.
- Hinges – pass: tight against the panel, no movement when you push on them, no rust bleeding down the panel.
- Hinges – fail: a hinge that shifts when pushed, a hinge pin backing out, or a hinge that’s visibly loose at the screw holes. Loose hinges let a panel sag, and a sagging panel scrapes the track.
- Tracks – pass: straight, no dents, clear of debris, and the same gap between door and track on both sides.
- Tracks – fail: any bend, a track that’s been bumped (common if a car or a trash can clips it), or a door that’s tighter against one track than the other.
Run this check with the door closed and the opener disconnected if you can do it safely. If a roller is cracked or flat, it’s not a “keep an eye on it” situation – it’s a replace-it-now item. On a Corona door, roller wear shows up faster in homes where the door cycles many times a day, and on older doors where the rollers have never been swapped. If you’d rather not diagnose it yourself, garage door repair covers exactly this kind of small-part work, and it’s cheaper to fix a roller than to replace the opener it wears out.
Springs and Cables: The Parts You Inspect Without Touching
Springs and cables do the actual lifting on your garage door. The opener just guides it. That’s why a spring or cable problem is the one item on this checklist where we tell you to look, listen, and stop – never to adjust, lubricate under tension, or attempt a DIY fix.
Safety first: torsion springs and the cables under tension store enormous force. A spring that lets go while you’re working near it can cause serious injury. If anything on the spring or cable assembly looks wrong, close the door if it’s safe to do so and call a trained technician. This is a genuine injury risk, not a caution added to cover ourselves.
What you can inspect safely, from the ground, with the door closed:
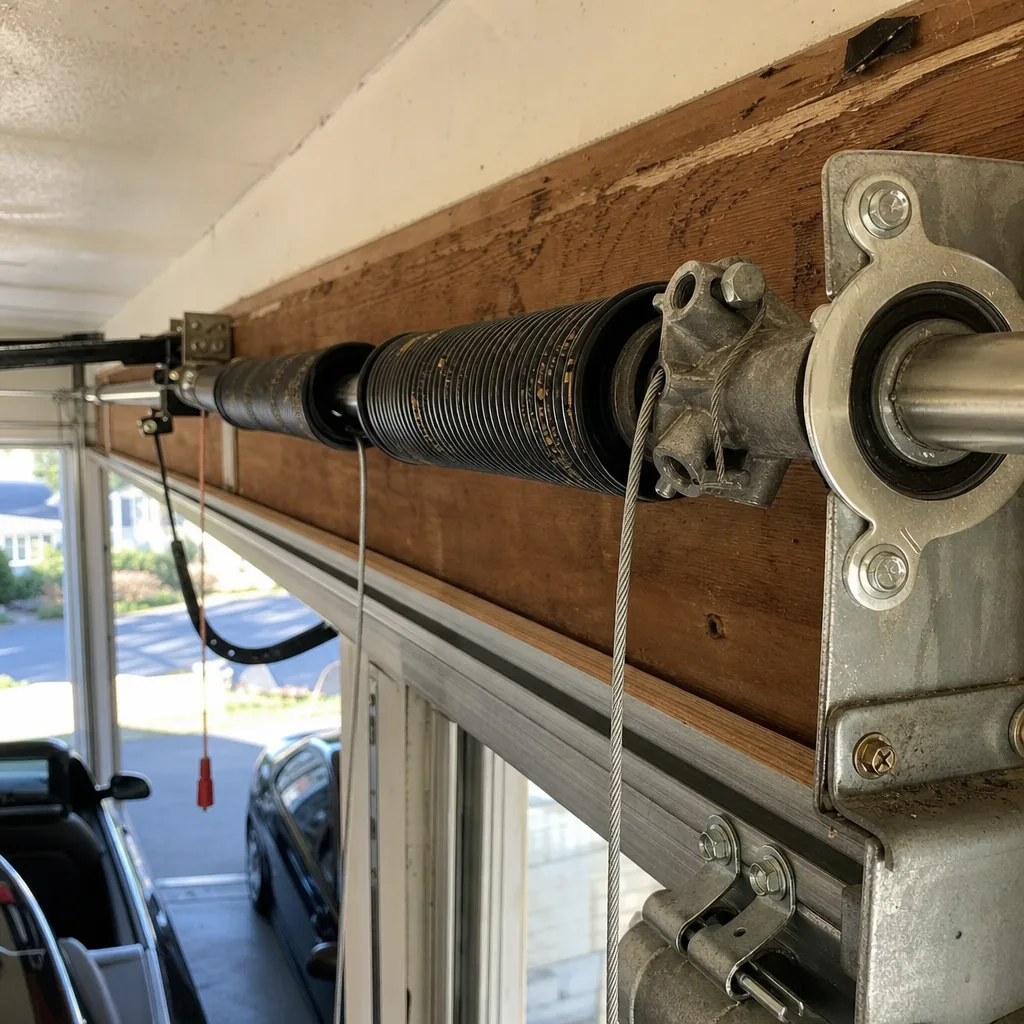
- Torsion spring (the horizontal spring above the door): look for a visible gap in the coil. A snapped torsion spring shows as a clean break in the winding. If you see that, stop and call – the door won’t be safe to operate.
- Extension springs (the springs that run alongside the tracks on older doors): look for stretched coils, a spring that’s lost tension, or a safety cable that’s loose or missing. Extension springs are the ones that most often need a safety cable running through them.
- Cables: look for fraying, kinks, rust, or a cable that’s come off its drum. A frayed cable is a cable about to fail – don’t run the door on it.
- The bottom bracket and cable attachment: look for bends or looseness. Don’t put your hands near the bottom bracket while the door is under tension.
If the door feels heavy, slams down, or won’t stay open on its own, a spring or cable is the likely cause, and that’s a job for a technician. Spring work is a specialty for a reason, and it’s the repair generalists usually decline. If you’re noticing these signs in Corona, don’t run the opener to “test” it – that puts load on a system that’s already compromised. Call and get it looked at before it fails completely.
How to Test Door Balance Safely Without Tools
A balanced door should hold itself at roughly the halfway point when you let go. If it drops, the springs are losing tension. If it rises on its own, they’re too tight. You can test this yourself, no tools, in about two minutes, as long as you follow the steps in order and keep clear of the moving door.
- Close the door fully and pull the opener’s release cord (the red handle) to disconnect the door from the opener. This is the only “tool” step, and it’s just a pull.
- Lift the door by hand to about waist height. Use both hands on the bottom edge, not the handle.
- Let go gently. A balanced door stays put or drifts only slightly. A door that falls is spring-tired. A door that climbs is over-tensioned.
- Lower the door slowly and re-engage the opener by pushing the release carriage back until it clicks.
- If the door won’t stay put, stop testing. A door that drops on its own is a door whose springs need attention, and that’s a call-a-technician item. Don’t keep cycling it to “make sure.”
This test tells you the state of your springs without you touching them. It’s the single most useful two-minute check on the whole list, and it’s the one homeowners skip most often. If the door fails the balance test, treat it as urgent – a door that drops can come down on a person or a pet, and it puts strain on the opener every time it runs.
The Corona Lubrication Schedule (It’s Not Once a Year)
Generic garage door advice says “lubricate once a year.” That advice ignores what Corona’s seasons do to a door. Queens gets cold winters and hot, humid summers, and the temperature swings between them expand and contract metal, dry out lubricant, and stiffen the grease in hinges and rollers. A once-a-year routine leaves your door running dry for months at a time.
Our schedule, tied to the seasons here:
- Early spring (after the cold): lubricate hinges, rollers, and the torsion spring coils with a garage-door-specific lubricant. Winter dries parts out and the first warm stretch is when stiff hinges start to squeal.
- Mid-summer (humid stretch): a light re-lubrication of hinges and rollers. Humid air and temperature swings work grease out of the joints faster than dry heat does.
- Late fall (before the cold): the most important one. Lubricate everything that moves before temperatures drop, so the door isn’t fighting stiff, dry joints all winter.
- Any time the door starts to squeak or groan: that’s the door asking for lubricant, not a sign it needs replacing. Don’t wait for the calendar.
A few things not to lubricate: the tracks themselves (clean them, don’t grease them – lubricant attracts grit), the opener rail (follow the opener’s own guidance; most LiftMaster and Chamberlain rails want a specific lubricant or none), and nylon rollers that are already worn (replace, don’t lube). Use a proper garage door lubricant, not WD-40 as a long-term fix – it’s a cleaner, not a lasting lubricant. If you’re not sure what your opener wants, the owner’s manual for a Genie, LiftMaster, or Chamberlain unit will say. And if the door still groans after a proper lubrication, that’s a sign of worn parts rather than dry ones, and it’s worth having someone look.
Testing Auto-Reverse and Travel Limits
The auto-reverse is the single most important safety feature on your garage door, and it’s the one people test least. It’s also the easiest test on this list: put a small object in the door’s path and see if the door reverses. It should. Every time. If it doesn’t, stop using the opener until it’s fixed.
How to test it, no tools:
- Place a small object – a roll of paper towels or a brick – flat on the ground in the middle of the door’s path.
- Close the door using the opener and watch. The door should contact the object and immediately reverse (mechanical auto-reverse).
- Test the photo-eye safety sensors (the two small lenses near the floor on each side of the door). Wave an object between them while the door is closing – it should reverse.
- If either test fails, the opener needs adjustment or repair. Don’t rely on it until it’s fixed.
Travel limits are the other opener setting worth knowing about. The door should open fully and close fully without slamming, and without reversing early. If the door stops short, hits the floor hard, or reverses before it reaches the ground, the travel limits are off. On most openers these are set with a screwdriver and the manual, but if the settings drift repeatedly, the opener is telling you something’s worn – a stiff door, a failing spring, or an opener near the end of its life. That’s when it’s worth having the opener checked rather than just re-adjusted. A failed auto-reverse on a door in Corona is a real safety concern, especially in homes with kids or pets using the garage as a shortcut.
The Three Most Neglected Components on Corona Doors
Across the service calls we run in Corona, three parts get missed more than any others. None of them are glamorous, and all of them are cheap to address early and more expensive to ignore.
1. The photo-eye sensors
They sit near the floor, they get dusty, they get bumped, and they get ignored until the door won’t close. A dirty or misaligned sensor is the most common reason a door “won’t close” – and it’s a two-minute fix (wipe the lenses, check alignment). The problem is people assume it’s the opener and start pricing a replacement before checking the sensors. Wipe them monthly; realign them if the door reverses on its own for no reason.
2. The bottom weather seal
The rubber seal along the bottom of the door keeps out water, drafts, and pests. In Corona, it takes a beating from seasonal temperature swings that harden and crack the rubber. A worn seal lets water in under the door and lets conditioned air out. It’s easy to miss because you never see it – it’s under the door. Check it by looking at the seal with the door closed: cracks, a flattened profile, or daylight showing underneath mean it’s time for a new one.
3. The hinges
Rollers get checked because they’re visible. Hinges get ignored because they seem solid until they aren’t. A loose hinge lets a panel shift, and a shifted panel scrapes the track and puts strain on the opener. Check the hinges with your hand (with the door closed and the opener off) and tighten or replace anything that moves. This is one of the simplest preventative checks you can do, and it’s the one that most often gets skipped.
What to Log After Every Inspection
A maintenance checklist is only as useful as the record you keep, and this is where most homeowners fall short. If you log what you see each time, the next technician (or you) can diagnose faster and cheaper. A note like “door started squeaking on the left side in March, got worse in July” is worth more than a vague “door’s been noisy.”
What to log each time you check:
- Date and what you checked. A simple list of items and pass/fail.
- Anything that changed since last time – new noise, a new wobble, a door that closes differently.
- What you lubricated and when. This is the one people forget, and it’s what tells you if your schedule is working.
- The auto-reverse and balance test results – pass/fail, with the date.
- Any part you replaced and the brand and size, so the next visit doesn’t require guesswork.
- Door and opener make and model. Write it down once. It’s on a label on the opener, and knowing whether you have a LiftMaster, Chamberlain, Genie, or another unit lets a technician bring the right parts and diagnose faster.
Keep the log in the garage or on your phone. When you call for service, read the last few entries and the technician can often tell you what’s likely wrong before arriving. That’s less time diagnosing and a faster, cheaper repair.
Common Mistakes to Avoid
- Greasing the tracks. Lubricant on the tracks collects grit and makes rollers drag. Clean the tracks; lubricate the moving parts, not the rails.
- Testing a door that failed the balance test. If the door drops on its own, running it more makes it worse and can be dangerous. Stop and call.
- Assuming a door that won’t close is an opener problem. It’s usually the photo-eye sensors or a travel limit. Check those first.
- Ignoring a squeak until it becomes a groan. Noise is the door’s way of asking for lubricant or telling you a part is wearing. Address it early.
- Skipping the pre-winter lubrication. In Corona, the fall lubrication is the one that matters most – it’s what keeps the door from fighting stiff joints all winter.
- Not writing anything down. Without a log, you’ll repeat the same checks and miss the pattern that would have told you a part was failing.
- Trying to adjust springs or cables yourself. They’re under extreme tension. This is the one part of the checklist where the answer is always “call a technician.”
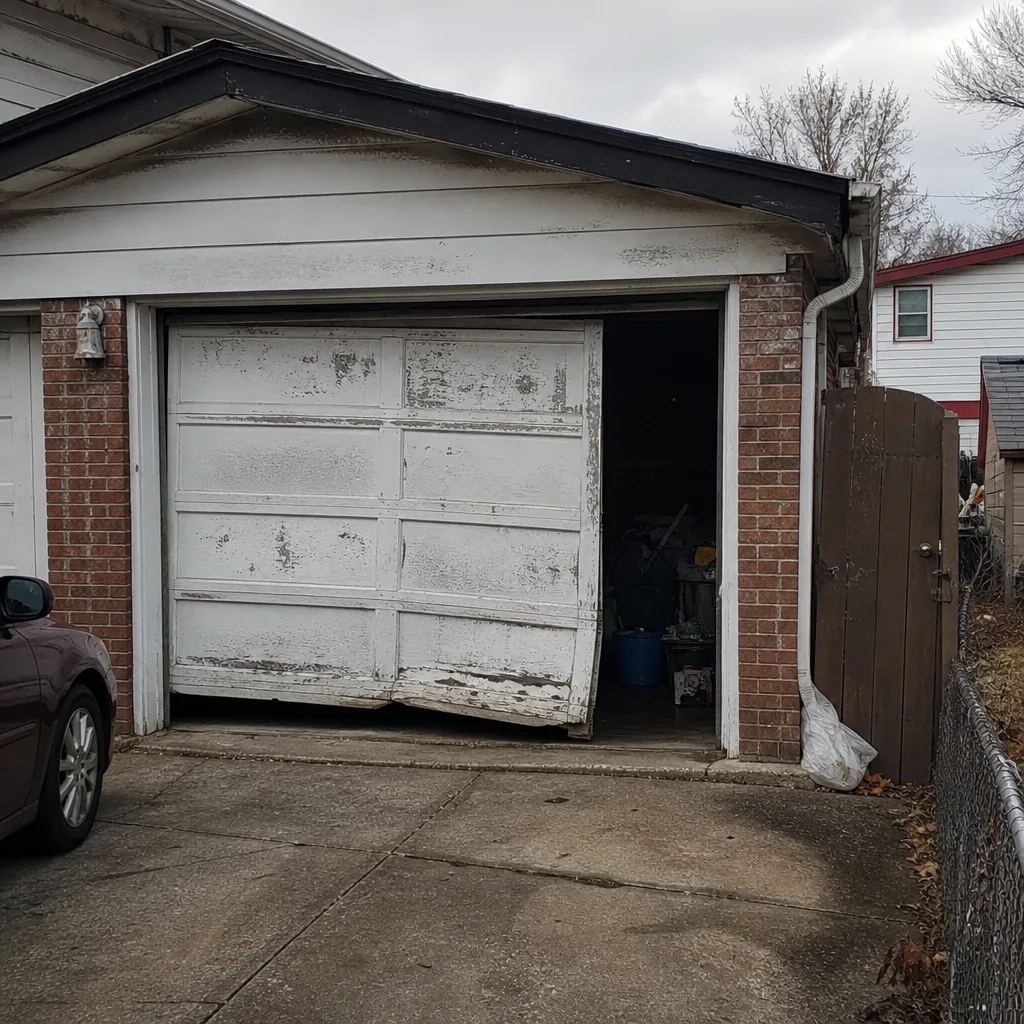
See the difference
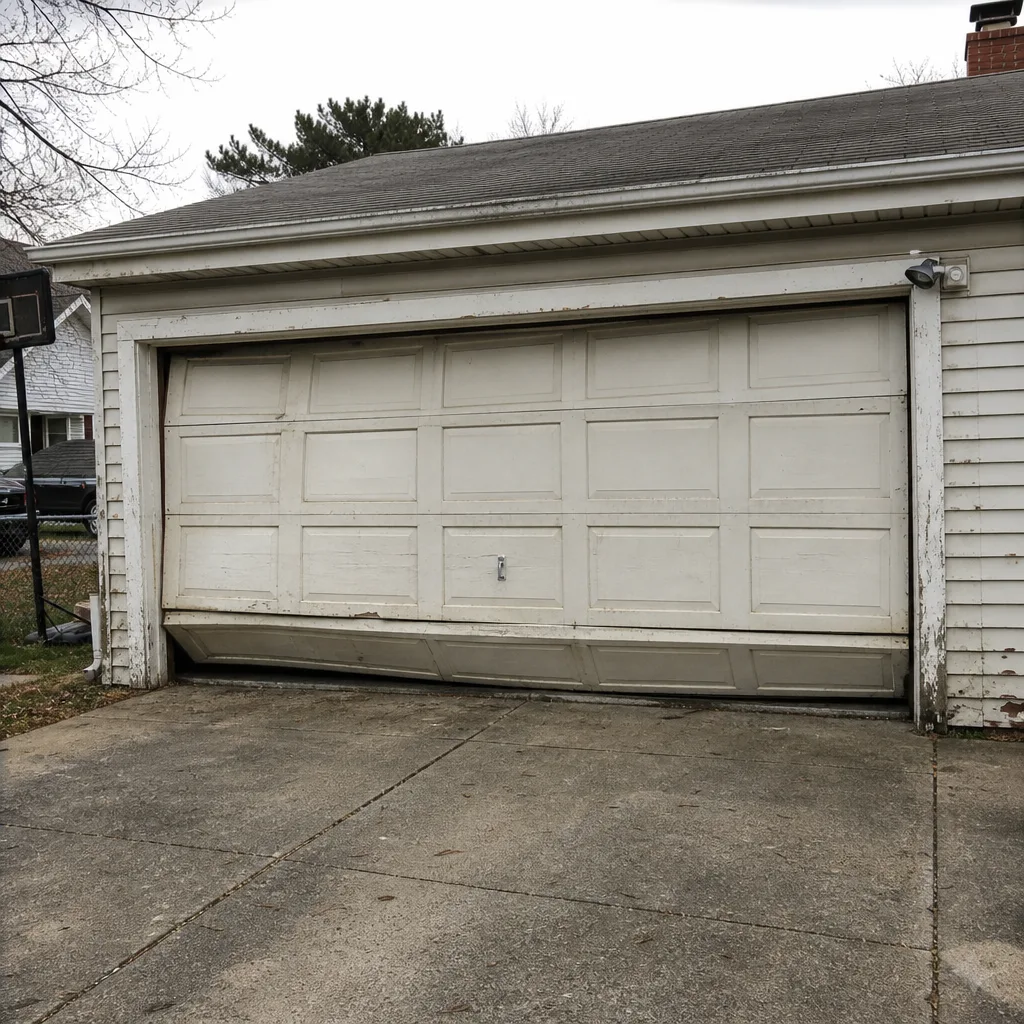 Before
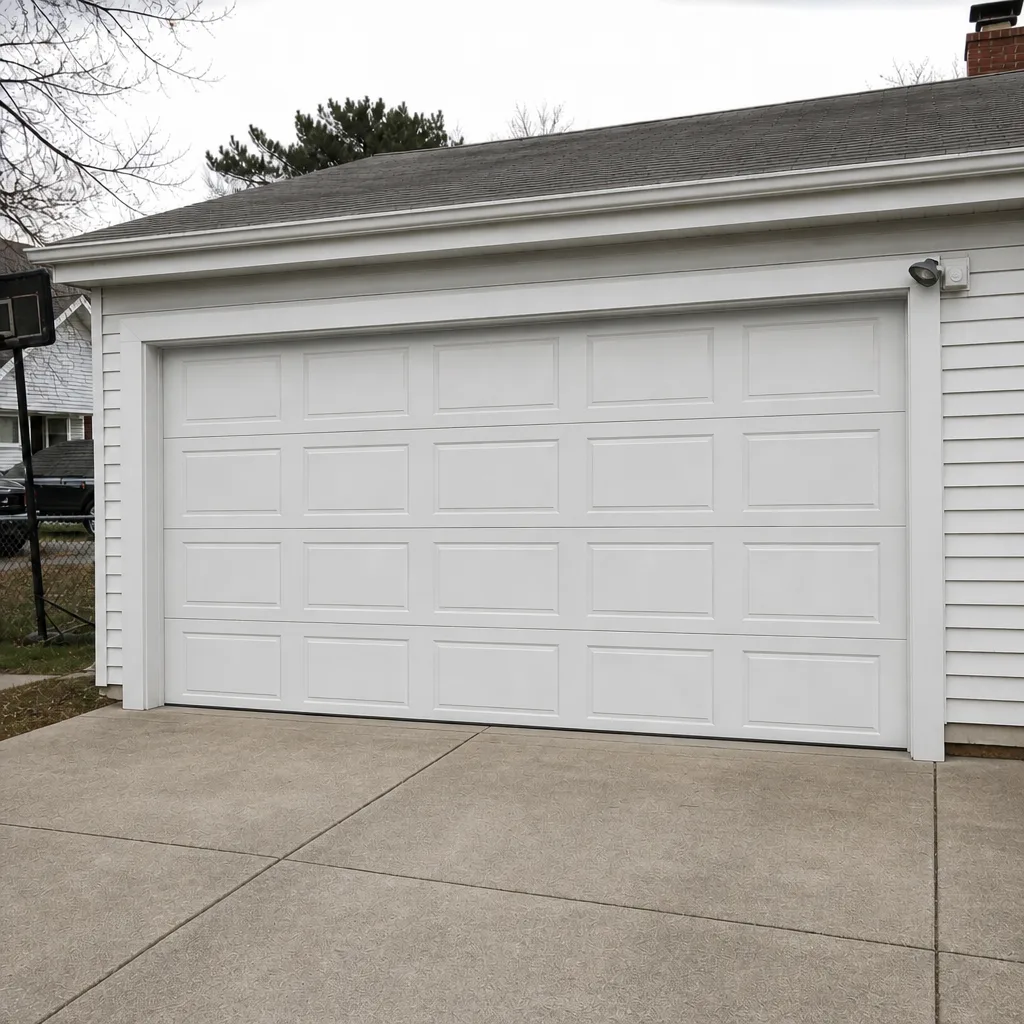 After
 Before
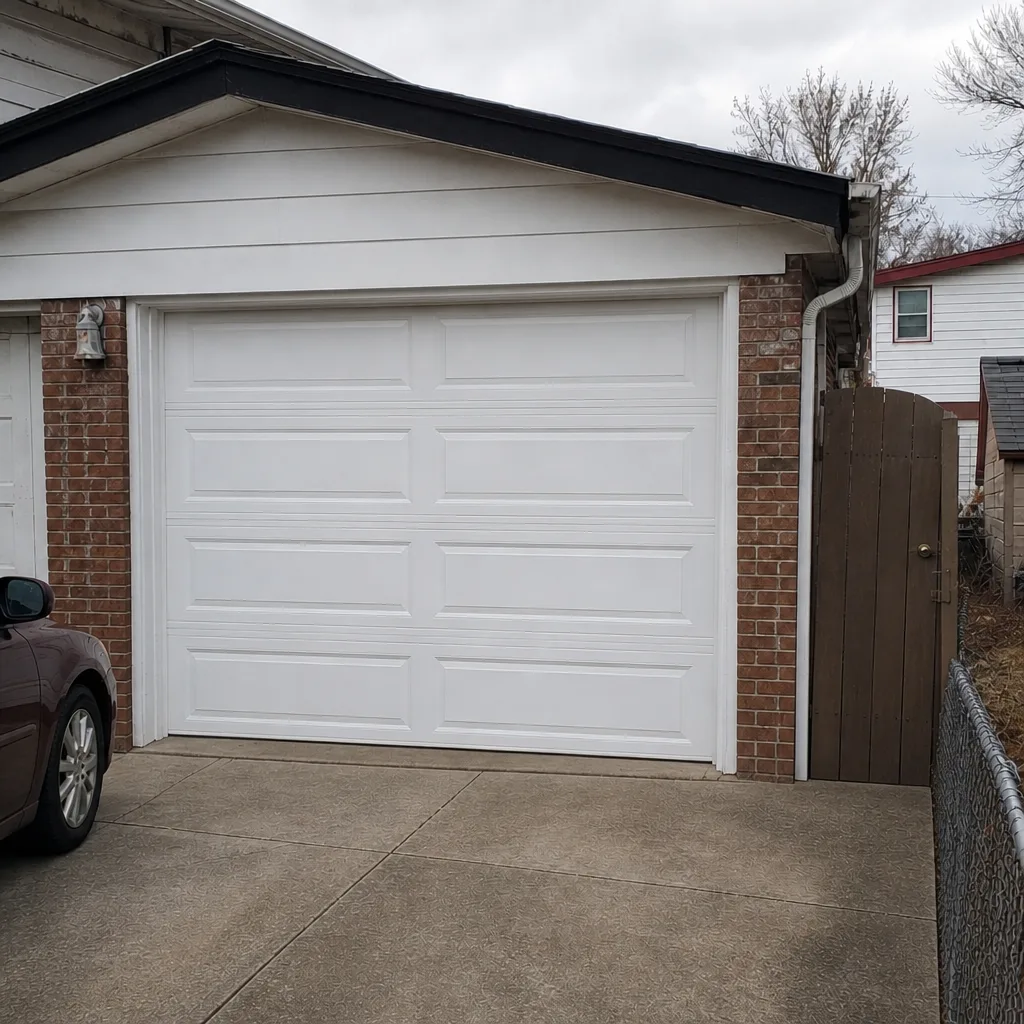 After
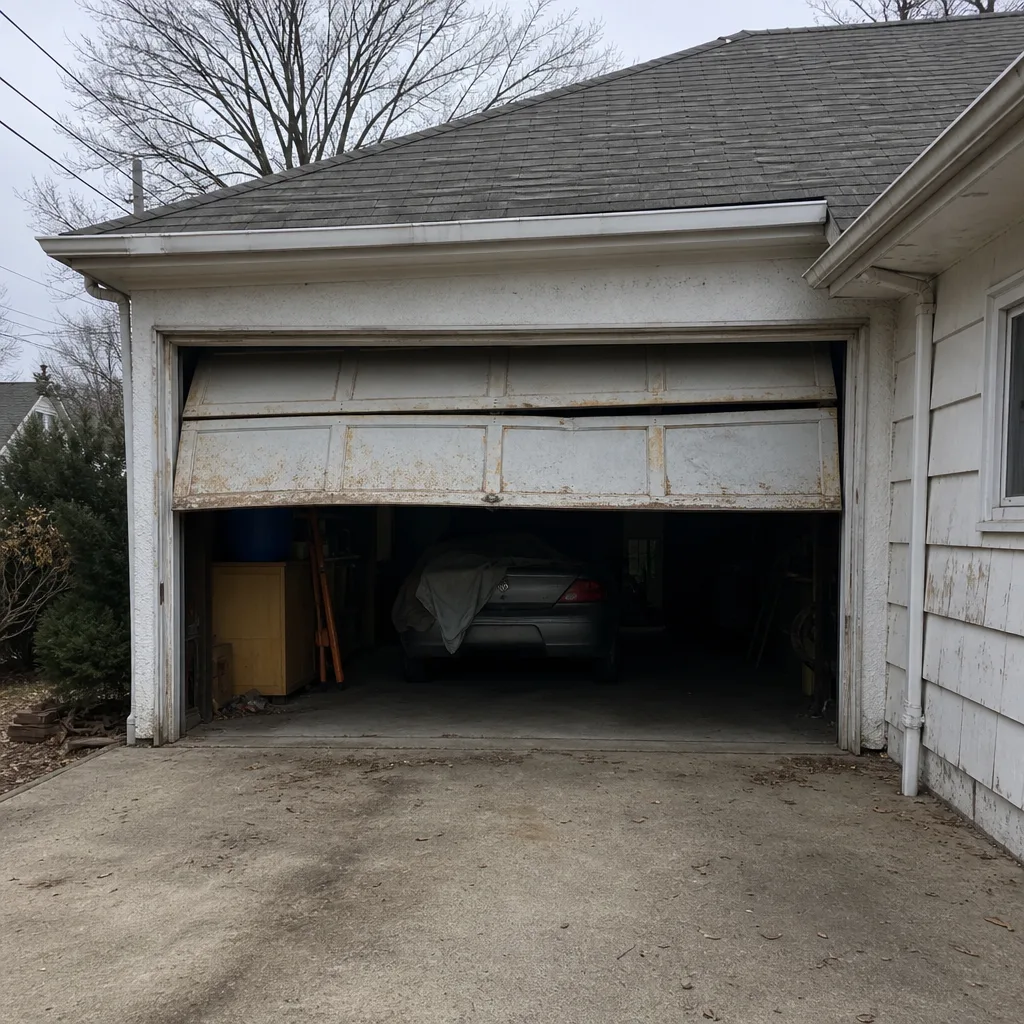 Before
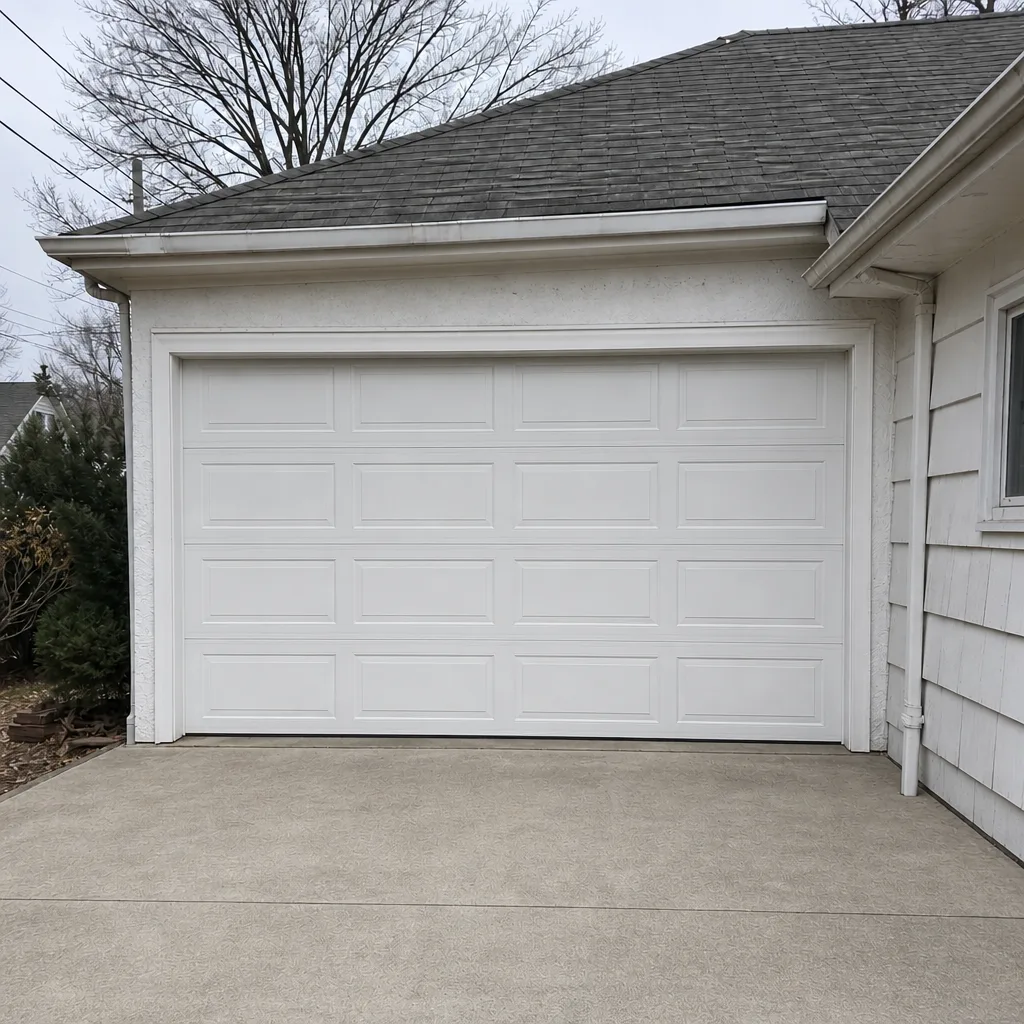 After
When to Call a Professional
Call a professional if the door fails the balance test, if you see a snapped spring or a frayed cable, if the auto-reverse doesn’t work, or if the door won’t close securely and you can’t trace it to the sensors. Those are the urgent ones. Also call if the door has become noticeably louder over months, if a panel is sagging, or if the opener reverses for no apparent reason. Those are the warning signs that a repair now prevents a bigger one later. In Corona, Corona Garage Door Repair Pros offers free estimates in Corona – call (855) 658-4170. We work on the brand already in your garage, from LiftMaster and Chamberlain openers to Clopay and Amarr panels, so there’s no “we don’t work on that” phone call.
Our technicians have up to 10 years of experience, and spring repair is a dedicated specialty for us – it’s the repair we get called for most precisely because it’s the one most homeowners shouldn’t attempt. If the door fails on a Saturday, we’re closed that day, but you can call and we’ll book you for Sunday.
Frequently Asked Questions
Once a year for a full professional service, plus your own monthly checks. In Corona, the seasonal temperature swings mean the door works harder than in a mild climate. Monthly visual checks, twice-a-year lubrication (spring and fall), and a yearly professional tune-up keep it in good shape.
A typical maintenance tune-up in Corona usually runs in the low-to-mid hundreds, depending on what’s found. Small repairs like roller replacement are at the low end; spring or opener work costs more. The written estimate sets the final price, and the quote is agreed before any work starts, so there are no surprises.
Yes for hinges, rollers, and spring coils, with a garage-door-specific lubricant. No for anything requiring adjustment of a spring or cable under tension. Lubrication is a homeowner-safe task; spring and cable work is not.
A torsion spring shows a clean gap in the coil when it snaps. Extension springs look stretched or lose tension. Both mean the door is unsafe to operate – call a technician. Don’t run the opener to test it.
Put a small object in the door’s path and close the door with the opener. It should reverse on contact. Also wave an object between the photo-eye sensors while the door is closing; it should reverse. If either test fails, stop using the opener until it’s fixed.
Cold stiffens lubricant and contracts metal, so joints that were quiet in summer start to groan. A pre-winter lubrication helps, and if the noise persists, the part is worn. In Corona, the fall lubrication is the most important one on the schedule.
Usually, yes. The most common causes are misaligned or dirty photo-eye sensors and travel limits that need adjusting. If it’s your opener, we handle opener repair across all major brands. Call (855) 658-4170 – estimates are free.
We work on the brand already in your garage. That covers the major manufacturers, from LiftMaster and Chamberlain openers to Clopay and Amarr panels, plus Genie, Wayne Dalton, Craftsman, and Raynor. No need to switch brands – we diagnose what you have.
The Bottom Line
A garage door maintenance checklist works when it tells you what a failing part looks like, not just what to look at. Check rollers and hinges for wear, inspect springs and cables from a distance (and never touch them), run the balance test and the auto-reverse test monthly, and lubricate on a Corona seasonal schedule rather than a generic annual one. Watch the three most neglected components – sensors, bottom seal, and hinges – and keep a simple log. Do that, and you’ll catch the small problems before they become big ones. If you’d rather hand it to a technician, call (855) 658-4170 for a free estimate. We’re Corona Garage Door Repair Pros, and we handle the whole system, from opener to panel. For full garage door opener repair or a complete garage door installation, we’re ready when it can’t wait.
Written by the team at Corona Garage Door Repair Pros.